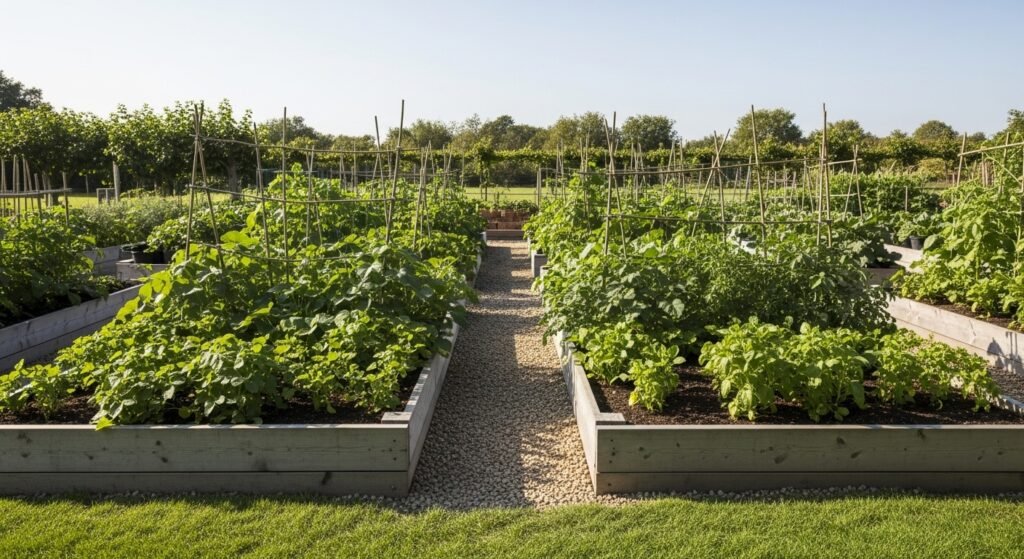
I built my raised bed last spring. It sat empty, just a wooden frame on bare dirt. I shoveled in topsoil from the yard. Nothing grew right. Lettuce bolted early, tomatoes yellowed. The bed felt off-balance, heavy at the bottom.
That mess taught me. Filling isn't dumping soil. It's layering for roots to breathe, water to drain, soil to hold steady.
Now my beds produce steady. Steady greens, fat tomatoes. You can get there too.
How to Fill a Raised Vegetable Garden Bed
This method layers materials for deep roots and even moisture. Your bed ends up balanced, soil alive. It's simple, repeatable.
What You’ll Need
- 32-quart organic raised bed soil mix
- 1.5 cubic foot aged compost
- 2 cubic foot coarse gravel for drainage
- Heavy-duty cardboard sheets for weed barrier
- Straw mulch bale, 3 cubic feet
- Soil pH test kit
- Organic worm castings, 15-pound bag
Step 1: Line the Bottom for Clean Start

I start by covering the ground inside the frame with cardboard. Wet it down first. It blocks weeds without chemicals. This keeps the bed clean long-term.
Visually, the bed looks sealed, ready for layers. No more grass pushing up.
People miss how cardboard breaks down slow, feeding microbes. Mistake: skipping it—leads to weed battles later. Layer pieces overlapping by six inches. Press flat.
Now it feels grounded.
Step 2: Add Drainage Layer
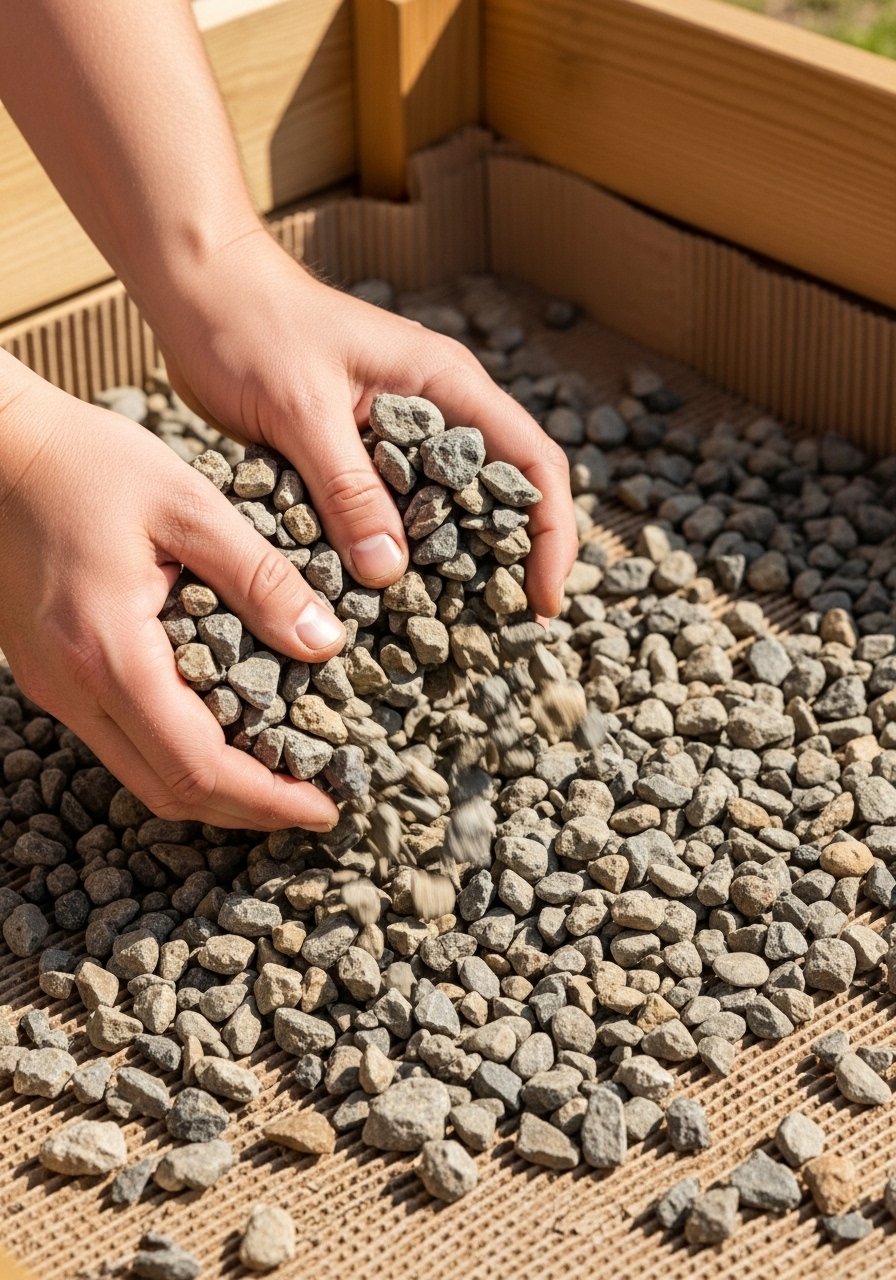
Next, I spread four inches of gravel. It lets excess water escape, prevents soggy roots.
The bed gains weight, sits stable. Gravel peeks through later if soil settles.
Insight: roots stay dry in rain, but soil holds what plants need. Avoid packing gravel tight—water won't flow.
This step makes the bed breathe.
Step 3: Build the Soil Base
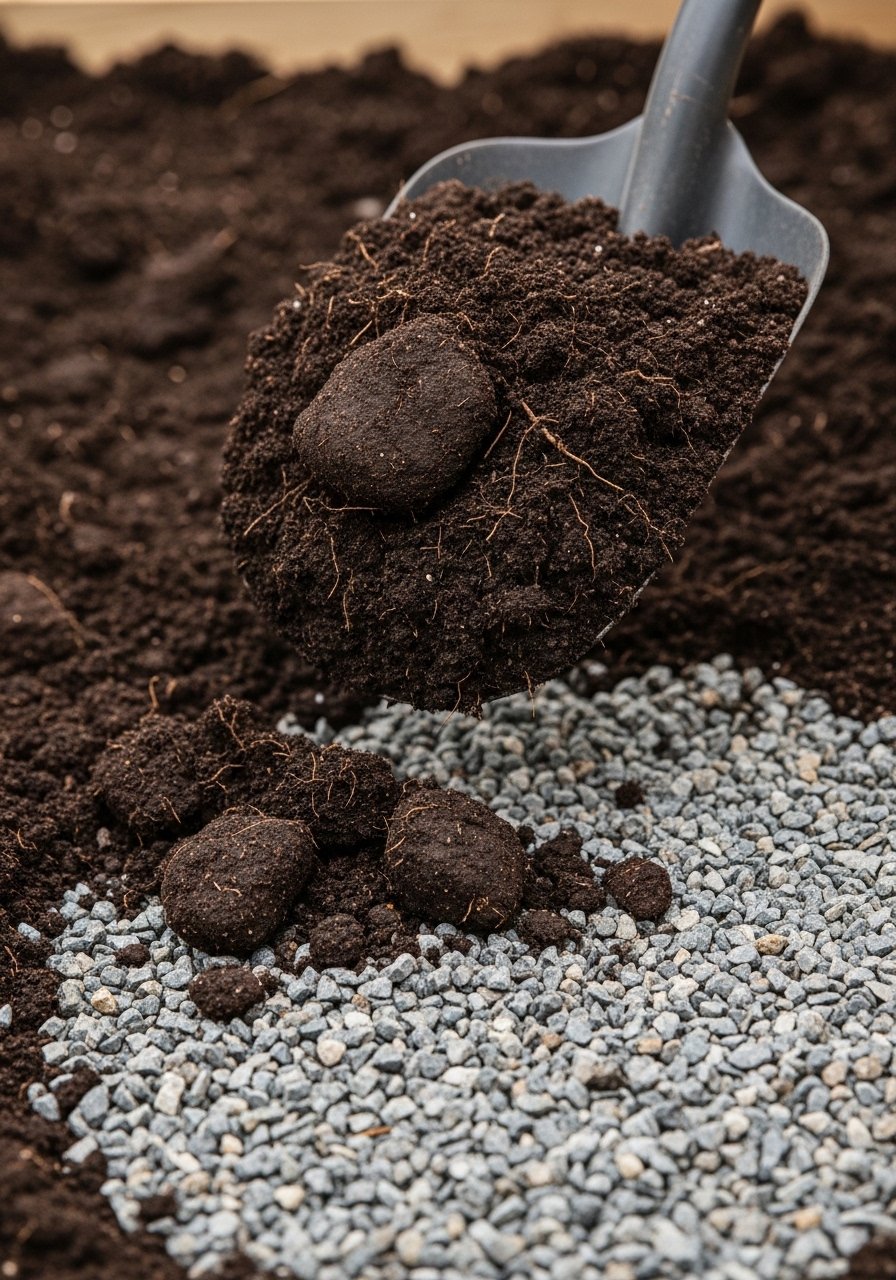
I fill halfway with raised bed soil mix. Rake even. Test pH here—aim for 6.0 to 7.0.
Soil darkens the bed, looks fertile already. Fills space without slumping.
Most overlook mixing in worm castings now for biology. Don't use yard dirt—brings pests. Firm gently with hands.
It settles balanced.
Step 4: Enrich with Compost

Top with four inches of compost. Mix lightly into soil surface. This feeds steadily.
Bed warms in color, smells earthy. Ready for plants.
Key miss: fresh compost burns roots—use aged. Avoid over-mixing deep—disturbs drainage.
Nutrients lock in.
Step 5: Mulch and Level

Spread two inches of straw mulch. Water thoroughly. Let settle overnight.
Surface looks tidy, holds moisture. No crusting.
People forget mulch suppresses weeds quietly. Mistake: thick layer—chokes seedlings. Pat smooth.
Bed feels complete.
Choosing the Best Spot for Your Bed
I place beds where sun hits six hours daily. Near water source, but not low spots that flood.
South-facing works best here. Test by watching shadows a day.
- Full sun for tomatoes, peppers.
- Partial shade suits lettuce, greens.
- Avoid tree roots—they steal water.
Your spot sets the pace.
Picking Vegetables That Thrive
Start with easy ones. I group by height: tall corn back, low carrots front.
Balance heavy feeders like squash with light ones like beans.
- Tomatoes: stake early.
- Root veggies: loose soil loves them.
- Herbs: fill edges.
They grow together clean.
Keeping Soil Alive Year-Round
Top up compost each fall. I turn lightly, no digging.
Watch for settling—add soil spring.
- Mulch refresh yearly.
- Test pH annually.
- Cover bare spots winter.
It stays balanced, productive.
Final Thoughts
Fill one bed this weekend. See how it settles.
You'll notice roots grip better, plants stand even.
Your garden builds from here. Steady yields come quiet.