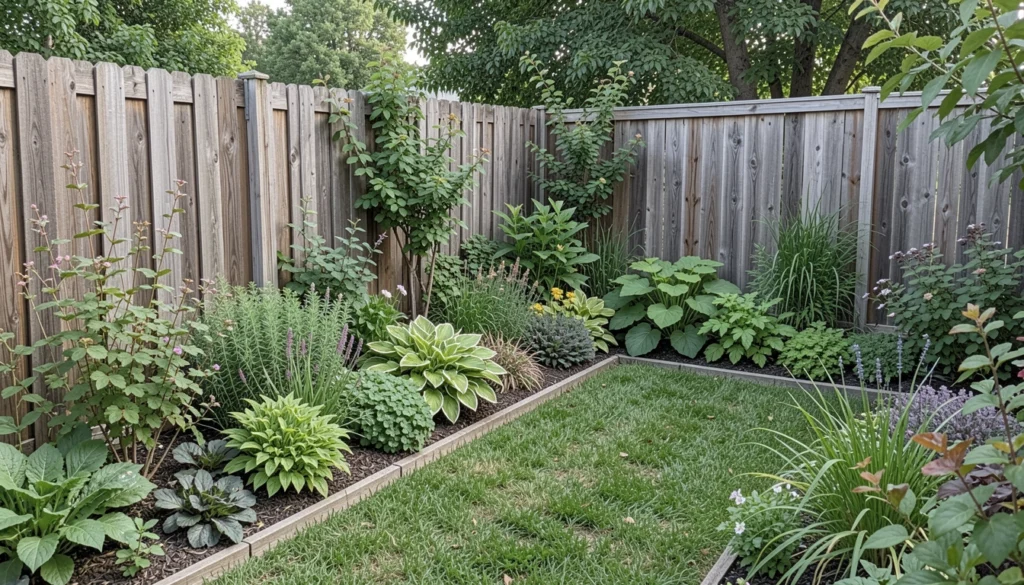
I remember staring at my backyard, feeling exposed. Neighbors' glances over the low hedge made quiet mornings tense. The garden needed boundaries, but a fence felt like overkill.
I walked the edges, noting bare spots and wind paths. Privacy shouldn't box you in—it should settle the space.
One afternoon, I put up a simple fence. Now, it holds the garden close, calm and private.
How to Install Fence for Garden Privacy
This guide walks you through placing a fence that screens your garden without crowding it. You'll end up with a balanced border that feels right. It's straightforward, from my yard trials.
What You’ll Need
- 4×4 pressure-treated wood posts, 8-foot length
- Vinyl privacy fence panels, 6-foot height, white
- Galvanized steel post anchors, pack of 4
- Concrete mix, 50-pound bag
- Fence bracket hardware kit, galvanized
- Landscape fabric stakes, 12-inch, pack of 20
- Climbing vine plants, evergreen, 1-gallon pots
Step 1: Walk and Mark the Line
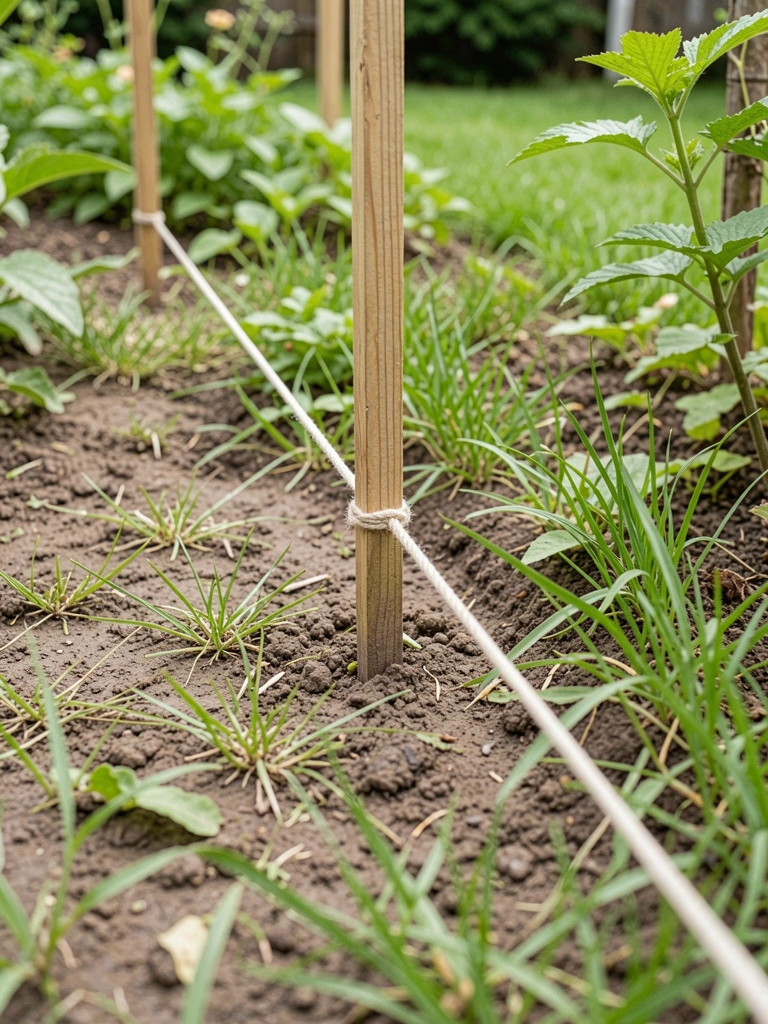
I start by walking the garden edge slowly. Feel where views intrude most—those spots get the straightest run. I tie string between two stakes, eye-balling for a gentle curve that follows the yard's shape.
Visually, the string reveals the fence's future path. It cuts exposure without chopping the flow. Most miss how a slight bend softens the look, making it blend.
Don't pull string too tight; it warps the natural line. Step back often. This sets a settled feel from the start.
In my yard, this took 20 minutes. The marked line calmed the space already.
Step 2: Set the Posts in Place
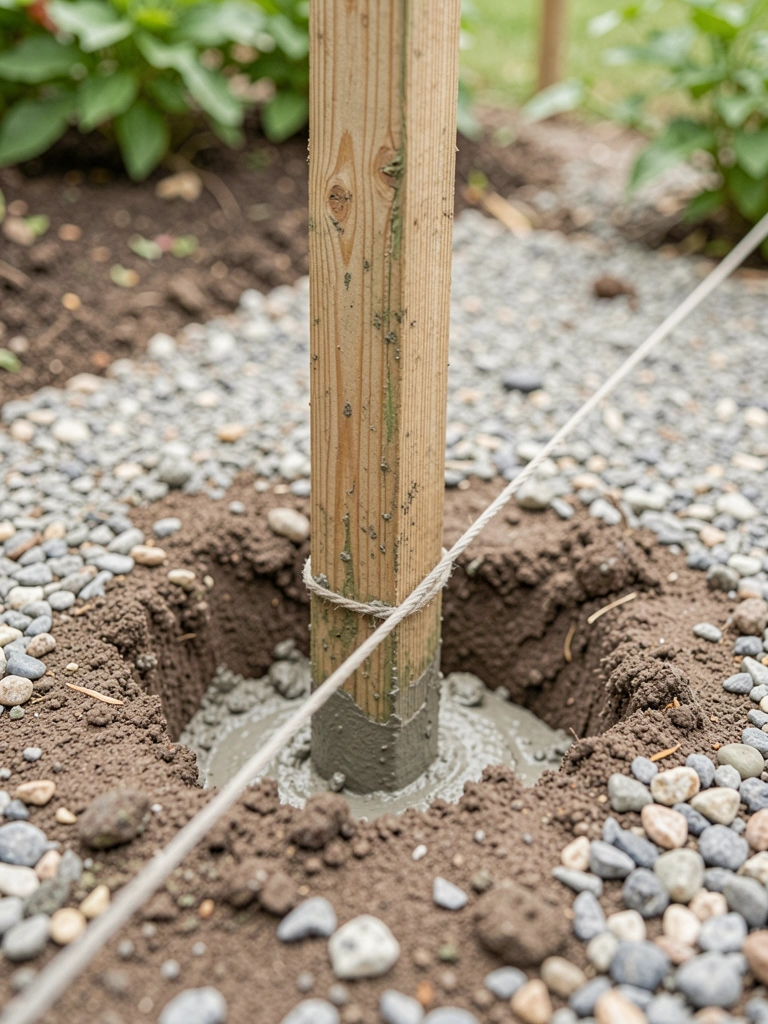
I dig holes where the string hits turns—every 8 feet. Posts go in deep, half their height buried. Concrete firms them against wind.
Now, posts stand firm, framing the privacy zone. Shadows shift, corners feel held. People forget posts need to lean slightly outward for balance—test with a level.
Skip gravel base if soil drains well; it shifts later. I pour, tamp, wait a day. The garden breathes easier.
Step 3: Attach the Panels
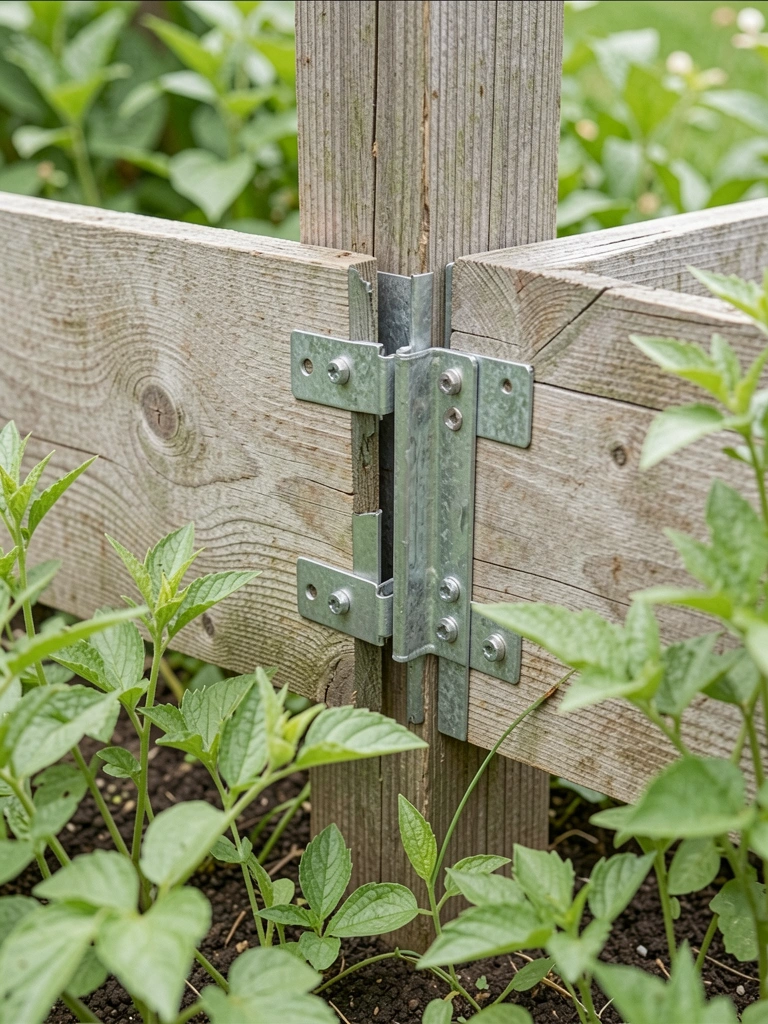
Panels slide between posts, brackets locked tight. I check each for even gaps, stepping back to see the screen form.
Light filters softer now, views blocked low to high. The uniform height grounds the chaos. Insight: overlap ends a hair for wind seal—gaps whistle.
Avoid forcing panels; trim if needed. My fence stood solid after, garden tucked in.
Step 4: Anchor and Blend the Base
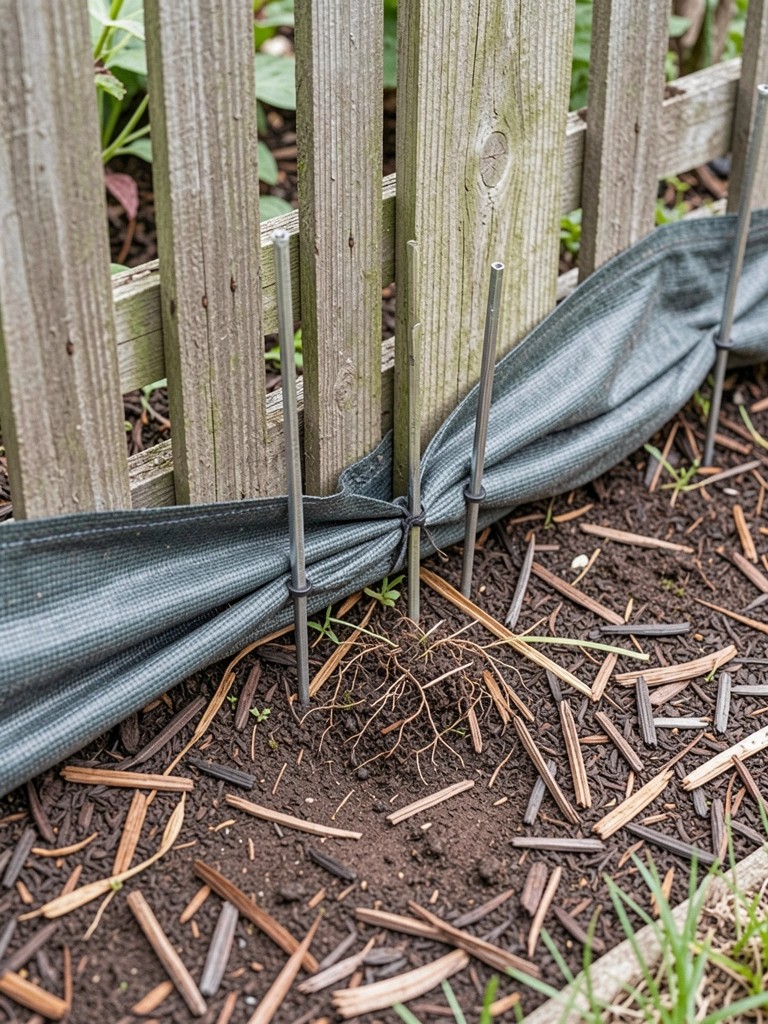
Stakes pin landscape fabric at the base, mulch on top. This keeps weeds down, roots in.
The fence roots visually—less stark line. Textures layer, feel complete. Most overlook base blending; bare soil shows through.
Don't skimp mulch; thin spots age fast. I added vines here, privacy grows over time.
Step 5: Check Balance and Adjust
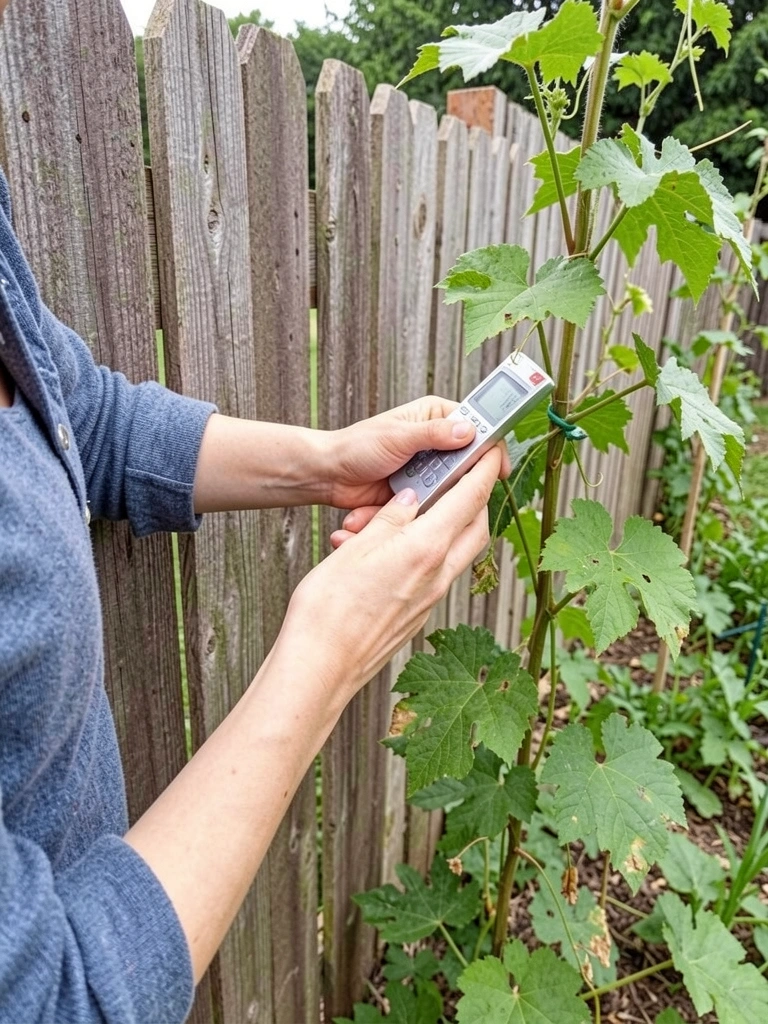
I walk the full length, eyes on flow. Tug loose spots, train vines along top.
Balance hits—fence supports, doesn't dominate. Views gone, peace stays. Trim high spots people miss; they catch eyes.
Over-tighten nothing. Let it settle. My yard felt whole.
Choosing Fence Height and Style
I pick height by peeking over—6 feet blocks most without towering. Style wise, vinyl lasts in my wet spells, wood warms quicker.
- Vinyl: Clean lines, low upkeep.
- Wood: Blends soft, needs stain yearly.
Test a panel first. Matches your plants best.
Planting Along the Fence
Vines pull the fence in. I space evergreens 3 feet apart at base.
They climb slow, fill gaps. Add perennials in front for layers. Feels lived-in fast.
Year-Round Maintenance Tips
Check posts yearly—tighten loose ones. Mulch refresh keeps it neat.
- Trim vines lightly.
- Hose panels clean.
Winter shows structure; prep then.
Final Thoughts
Start with one side if the whole yard daunts. My first fence was short—grew from there.
You'll feel the shift when it's up. Garden holds its own now.
Privacy comes quiet. Just right.