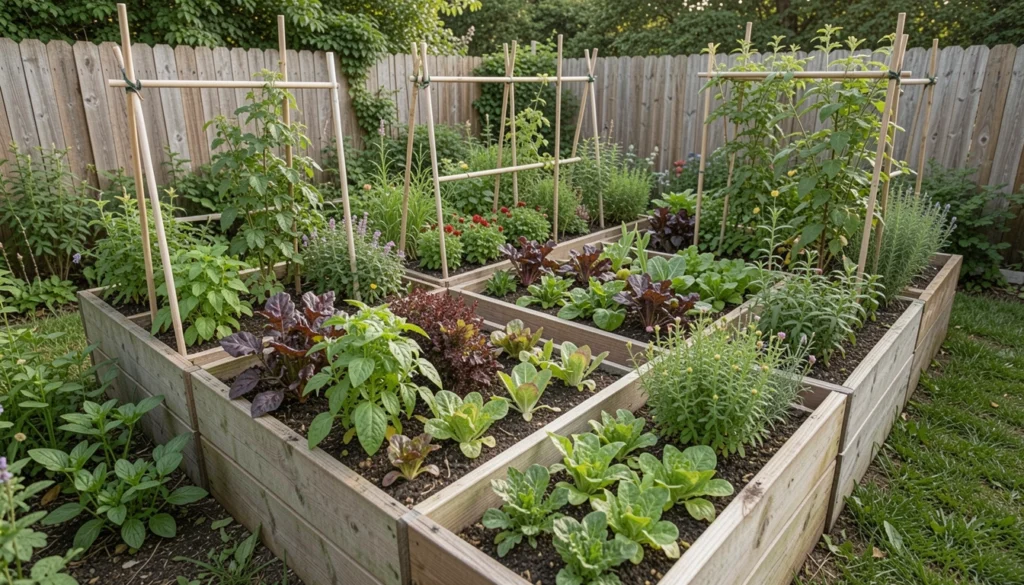
I stared at my backyard corner last spring. Empty dirt, no flow. Raised beds sounded good, but where to put them? Everything felt cramped or bare. I wasted weeks guessing.
Then I stepped back. Mapped it slow. Now that spot grows steady tomatoes and greens. No more staring at nothing.
You can get this right too. It starts with seeing the space as it is.
How to Build Raised Garden Bed Layout Plan
This method helps you plan raised bed positions and plant groupings that fit your yard. You'll end up with beds that feel balanced and easy to reach. I use it whenever a space looks off.
What You’ll Need
- Graph paper notebook for sketching layouts, 8.5×11 inches
- Wooden garden stakes for marking bed outlines, 12-inch pack
- Fabric plant markers, weatherproof set of 100
- Companion planting guide book, paperback edition
- Raised bed soil mix, 1.5 cubic feet bag
- A-frame trellis for vining plants, 48-inch galvanized
- Straw mulch bale, organic compressed
- Tomato seedlings, heirloom variety six-pack
Step 1: Walk Your Space and Feel the Flow
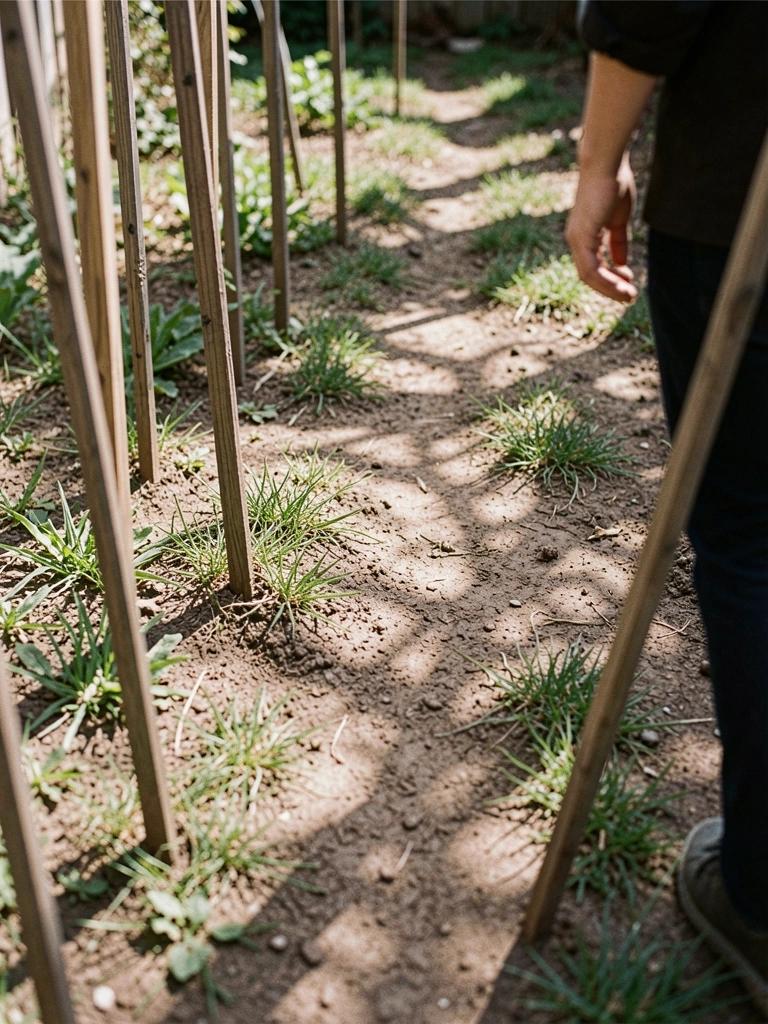
I start by walking the yard at different times. Morning light hits one side hard. Afternoon shade falls on the other. This tells me where beds won't bake or starve.
You mark rough outlines with stakes. Step back 10 feet. See if paths feel wide enough to reach in without stepping on soil. Visually, the space quiets down—less chaos.
People miss how sun shifts daily. Check it over a week. Avoid cramming beds against fences; air needs to move.
Now it looks open. That's the first calm.
Step 2: Sketch Bed Shapes on Paper
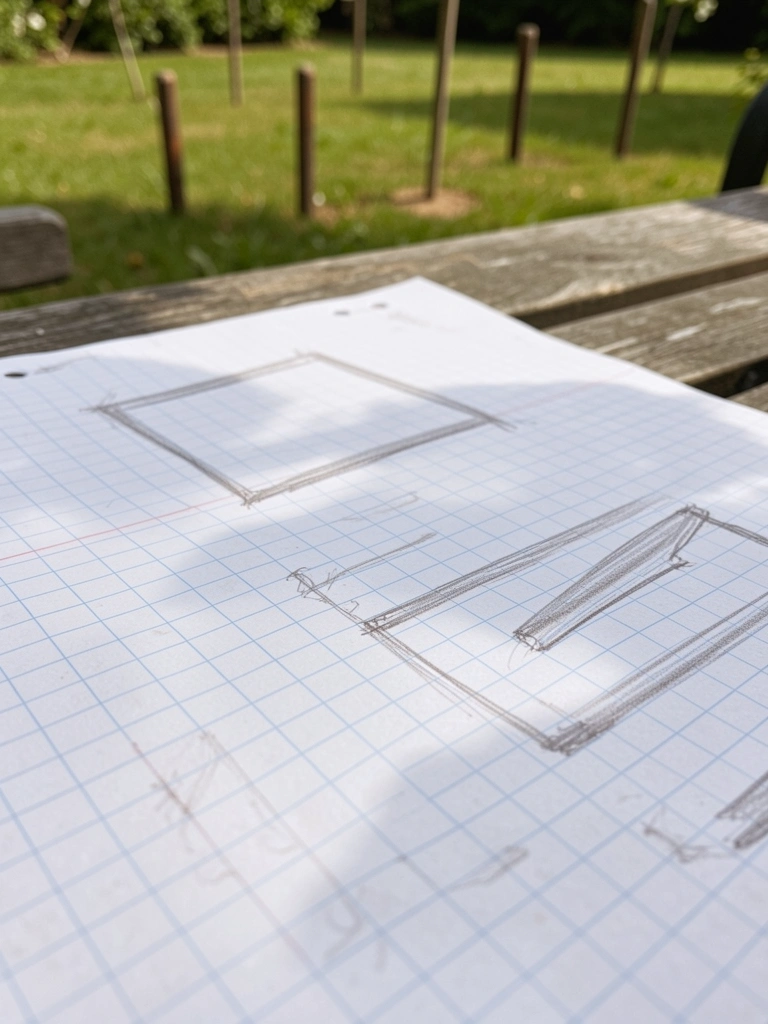
I grab graph paper. Draw my yard to scale—one square per foot. Then outline beds: two 4x8s side by side, one L-shape corner.
Why? Tall beds block views; low ones hug ground. Pencil in paths at least 18 inches wide. The sketch shows balance—beds don't crowd edges.
Most skip measuring twice. Insight: beds under 4 feet wide let you reach middle easy. Mistake: ignoring slope; level them flat or plants tip.
Paper makes it real. Your hand sees what eyes miss.
Step 3: Group Plants by Height and Needs
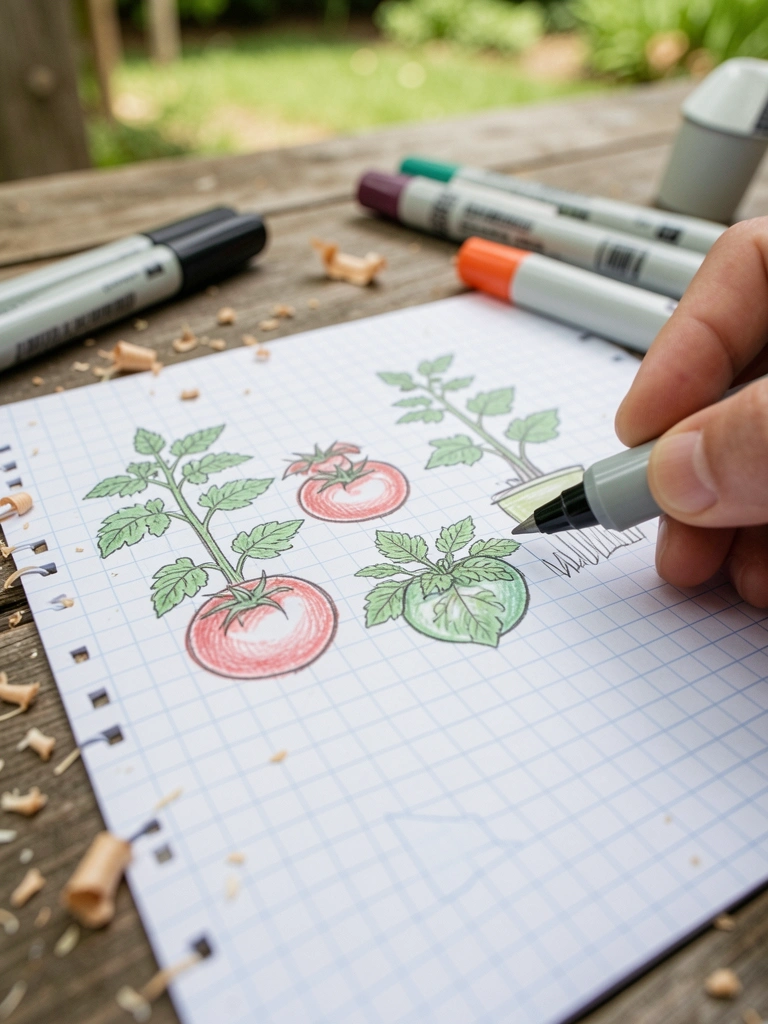
I list plants: tomatoes back, lettuce front. Vines on trellises rise up. Group carrots with onions—they help each other.
This layers the beds. Tall behind short creates flow; no bare legs showing. Visually, it settles—full but not jammed.
Folks overlook companions; beans fix nitrogen quietly. Avoid planting all sun-lovers together—they compete. Test by holding seedlings up.
Beds feel alive now, purposeful.
Step 4: Map Access and Seasons
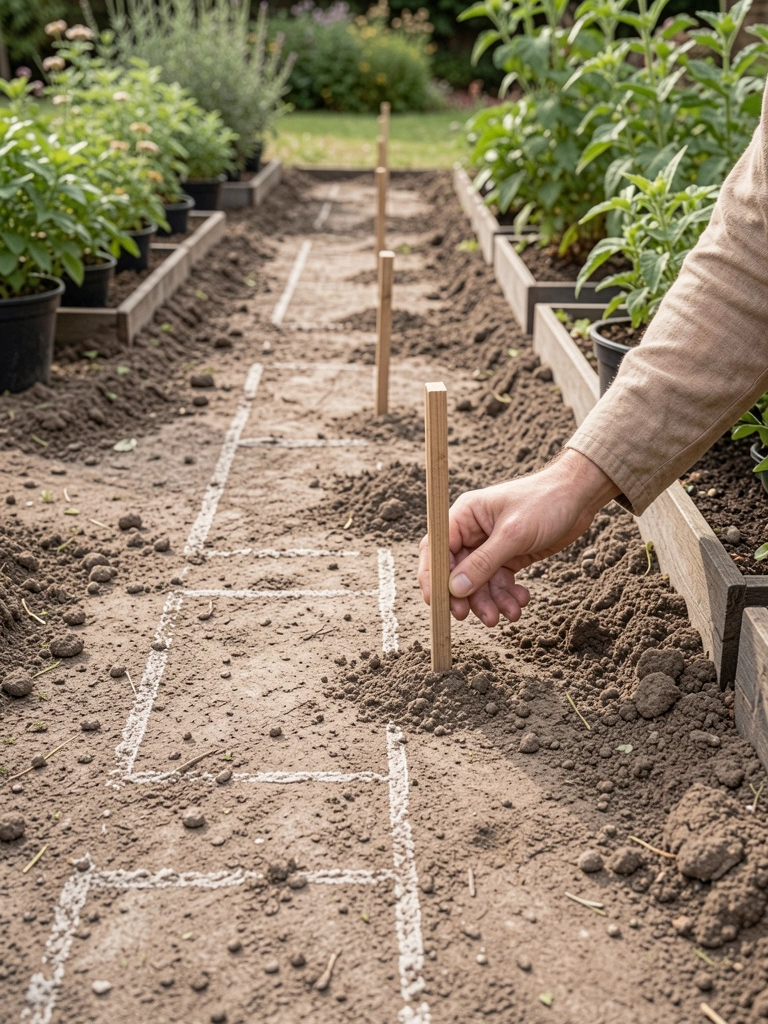
I adjust stakes for wheelbarrow paths. Mark harvest spots—easy arm reach. Think winter: which beds hold perennials?
Paths carve breathing room. Beds look connected, not islands. Change: space feels walked, used.
Missed insight: north beds for shade plants. Avoid narrow paths; you'll trample edges fast.
It holds year-round now.
Step 5: Test and Tweak the Feel
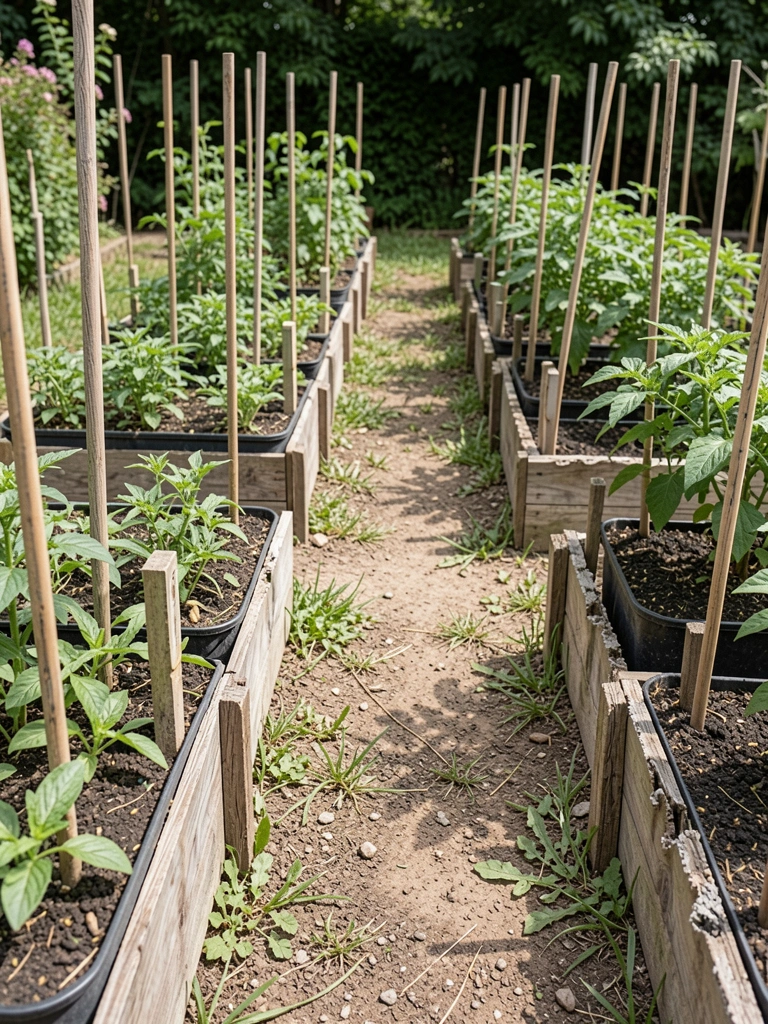
I place pots where plants go. Walk around. Sit nearby. Does it pull you in or push away?
Tweaks show: move a bed two feet left for better light. Final visual—balanced weight, no dead corners.
People plant first, plan later. Insight: live with stakes a week. Avoid rushing fill; soil settles.
Your yard fits you now.
Choosing the Right Spot for Your Beds
Sun matters most. I pick spots with six hours light minimum. South-facing works for veggies.
Test soil too. Dig a hole. If water sits, raise higher.
- Full sun: tomatoes, peppers
- Part shade: lettuce, herbs
- Check fences—don't block wind
Beds near house door save steps.
Plant Combinations That Work
I pair what grows together. Tomatoes with basil—bugs stay away.
Short list I rely on:
- Carrots + onions
- Beans + corn
- Kale + strawberries
Rotate yearly. Keeps soil healthy. No big failures that way.
Maintaining Balance Over Time
Weed paths weekly. Mulch tops soil.
Prune tall plants. They lean otherwise.
Check every month. Shift if shade grows.
Beds stay even, productive.
Final Thoughts
Start with one bed. Sketch it today.
You'll see the yard shift. It feels right.
No rush. This plan grows with you. Just dirt to dinner, steady.