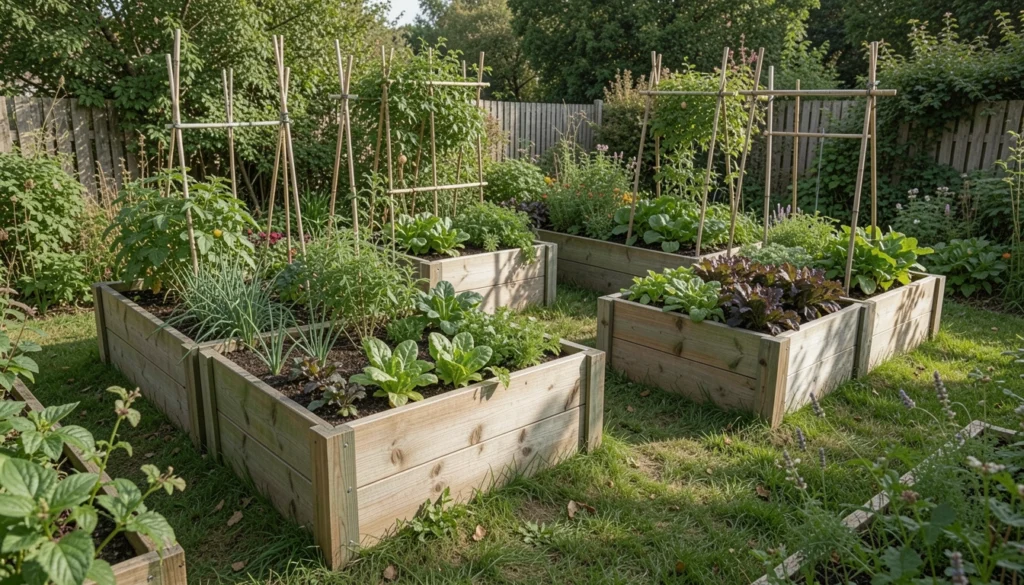
I stared at my new raised beds last spring. Empty wood frames in a sunny corner. They looked boxy and out of place. I kept adding plants randomly. Nothing felt right.
The beds sat there, half-full and uneven. I wasted seedlings that way. Then I stepped back and planned the layout first.
Now, my beds flow together. Plants fill them just right.
How to Plan Raised Garden Bed Layout
This is the method I use every time beds feel off. You’ll end up with beds that balance each other and fit your space. It’s straightforward, from my yard trials.
What You’ll Need
- Graph paper notebook for sketching layouts
- 24-inch wooden garden stakes
- Natural jute twine 200 feet
- 50-foot fiberglass measuring tape
- Bush bean seeds packet
- Cherry tomato plants 6-pack
- Lettuce mix seeds
- Swiss chard seedlings tray
Step 1: Walk the Space and Feel the Light
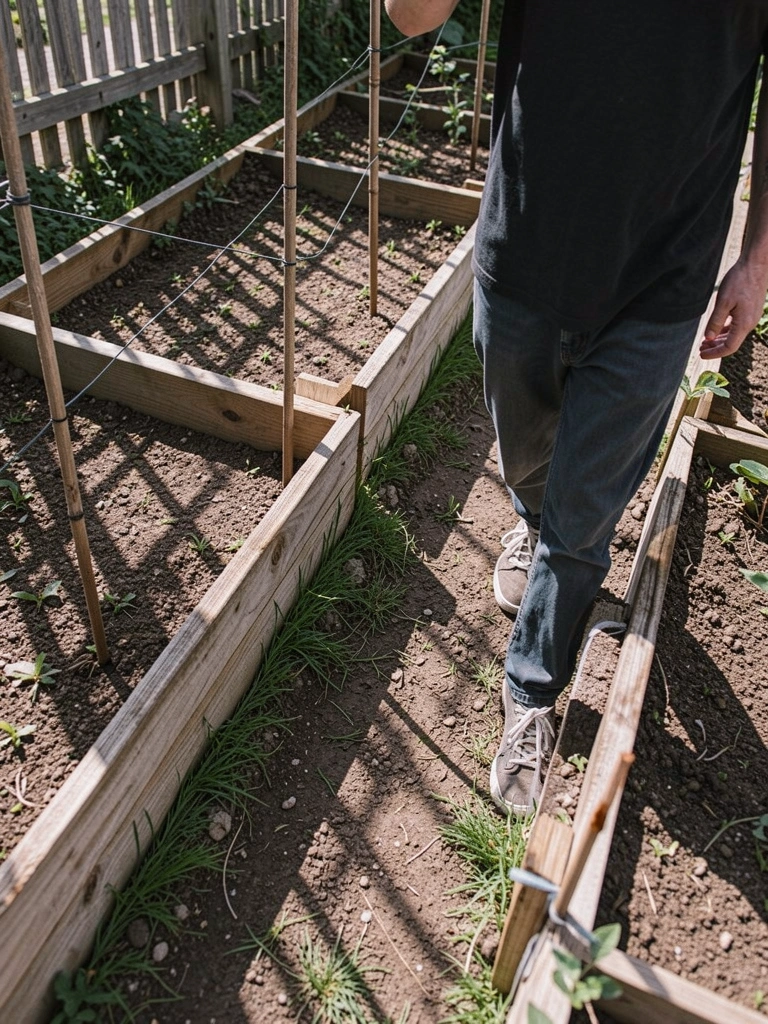
I start by walking around the beds at different times. Morning light hits one side first. By noon, the whole area warms up. This tells me where tall plants go—backs, away from paths.
Visually, the beds shift from flat boxes to layered spots. Light draws your eye naturally.
Most miss how afternoon shade sneaks in from trees. Test it over two days. Don’t plant sun-lovers up front; they’ll flop and block shorter ones.
Avoid cramming the sunny middle. Leave paths clear for balance.
Step 2: Sketch Heights and Shapes on Paper
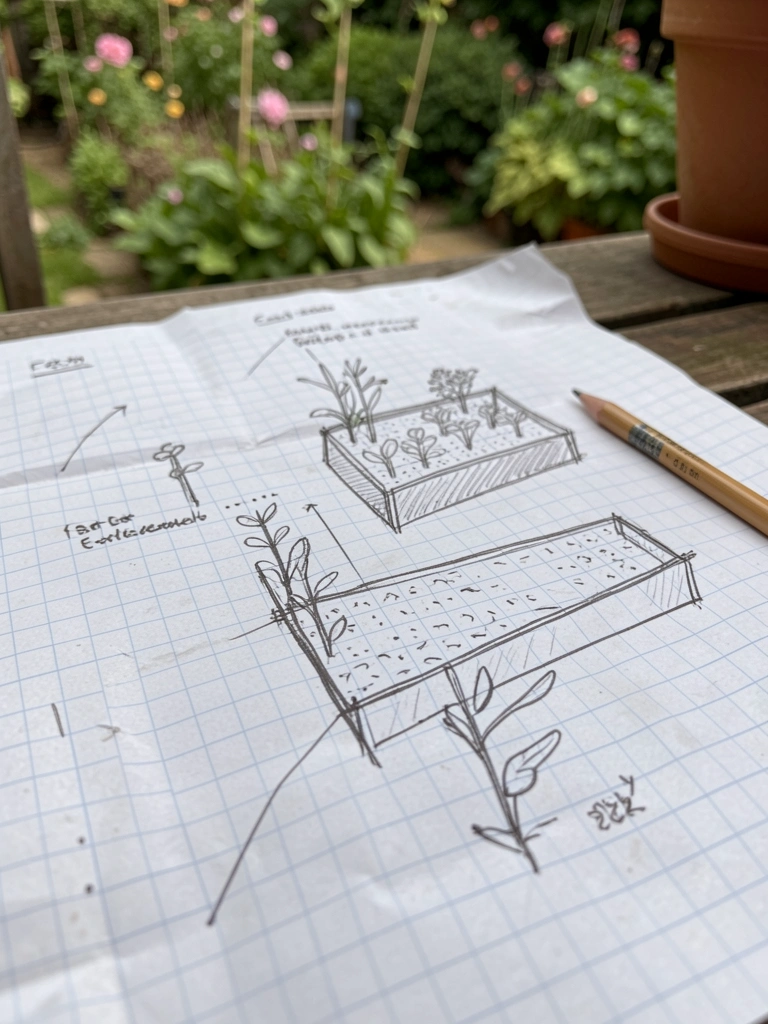
I grab my graph paper and draw the beds to scale. Tall tomatoes in back rows, bush beans mid-height, lettuce edging front. Circles for shapes, lines for paths.
The sketch makes empty beds feel alive already. Balance shows up—nothing overcrowds.
People forget companion shapes. Tomatoes near beans deter pests quietly. Sketch curves, not grids.
Skip straight lines only. They make beds look rigid. Add a slight arc for flow.
Step 3: Stake Out the Grid in Dirt
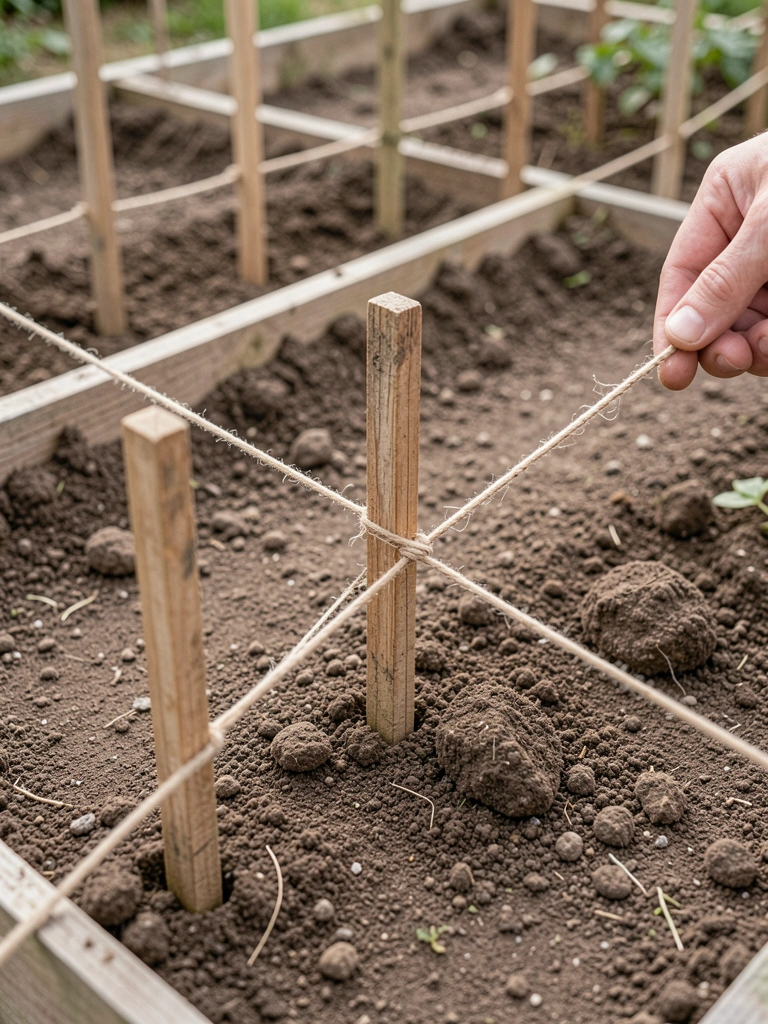
I pound stakes at corners and stretch twine. Marks tall, medium, short zones. Steps back—does it pull the eye across evenly?
Now the ground shows the plan. Beds connect without jarring edges.
Insight: Twine reveals path widths. Narrow feels squeezed. Widen for comfort.
Don’t ignore fence lines. Align stakes parallel or beds fight the boundary.
Step 4: Test Plant Spots with Empties
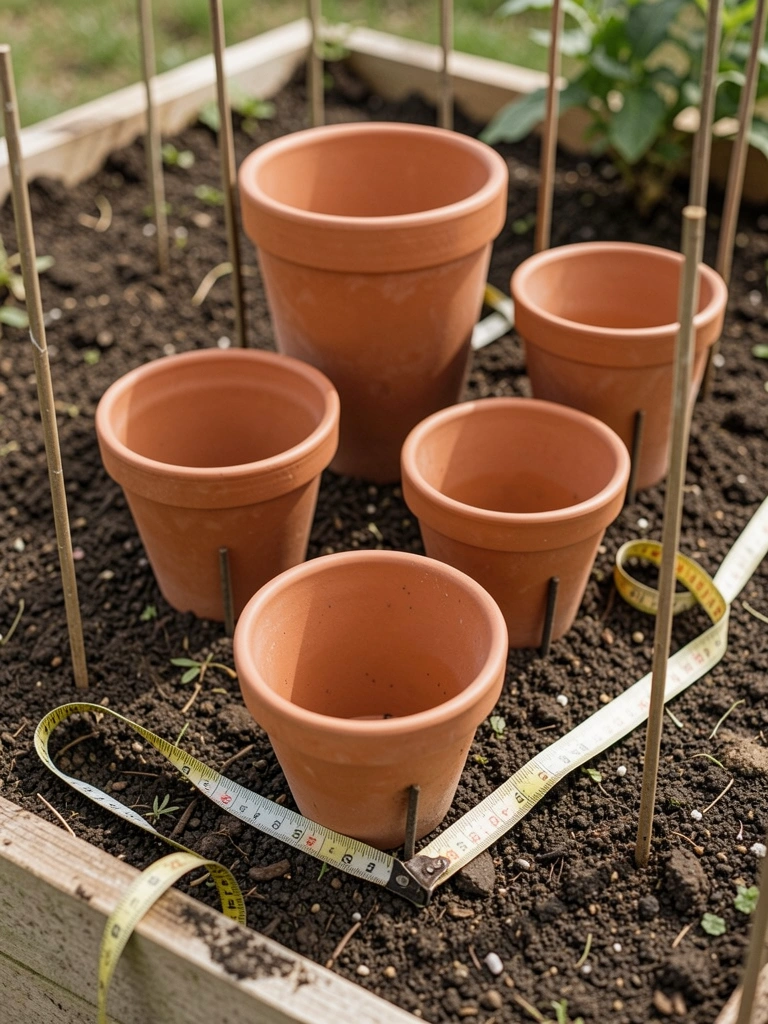
I set empty pots where plants go. Tall ones rear, bushy mid, greens front. Walk paths. Feels open? Balanced?
Visual shift: Beds gain depth. Layers emerge.
Missed bit: Air flow between pots. Tight spots breed damp leaves.
Avoid equal spacing. Cluster companions—chards with beans—for natural clumps.
Step 5: Adjust for Year-Round Balance
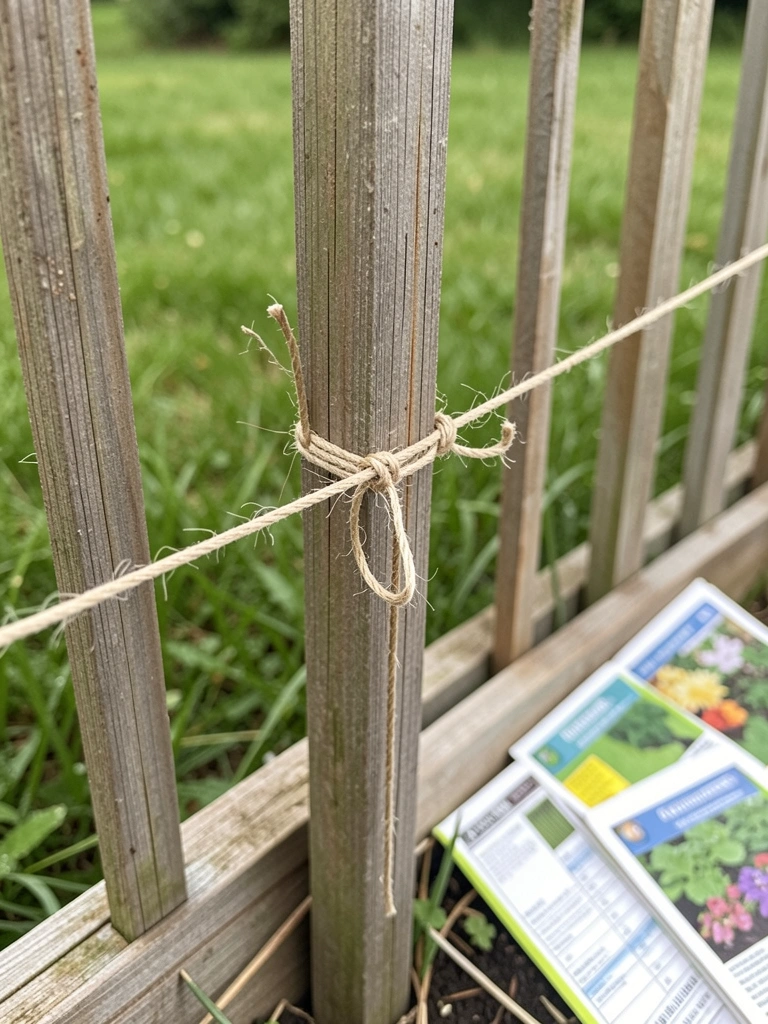
I tweak twine lines. Swap a front spot if it blocks. Think winter—perennials hold shape when annuals fade.
Beds now promise steady look. Flow holds seasons.
Folks overlook off-season bare spots. Mix evergreens lightly.
Steer clear of all tall backs. Voids mid-bed when harvested.
Choosing Companion Plants for Balance
I learned companions the hard way. Random plants compete. Now I pair them for health and looks.
Tomatoes with beans climb together. Lettuce shades soil under chard.
- Bush beans fix nitrogen for tomatoes.
- Chard adds color without height clash.
- Lettuce fills gaps fast.
This keeps beds full, no lonely patches.
Picking the Best Spot in Your Yard
Spot matters more than size. I moved beds once—doubled harvest.
South-facing gets most sun. Near water saves steps.
Test with stakes first. Paths to house? Keep wide.
Feels right when beds frame your view comfortably.
Simple Ways to Maintain the Layout
Once planted, small checks keep balance.
Walk weekly. Trim overhangs blocking paths.
Rotate crops yearly. Prevents soil tire.
- Mulch edges for clean lines.
- Note what thrived in journal.
Beds stay intentional with little work.
Final Thoughts
Start with one bed. Sketch it out. Feel the light yourself.
You’ll see the balance click. No more guesswork.
My yard feels settled now. Yours will too, one planned row at a time.