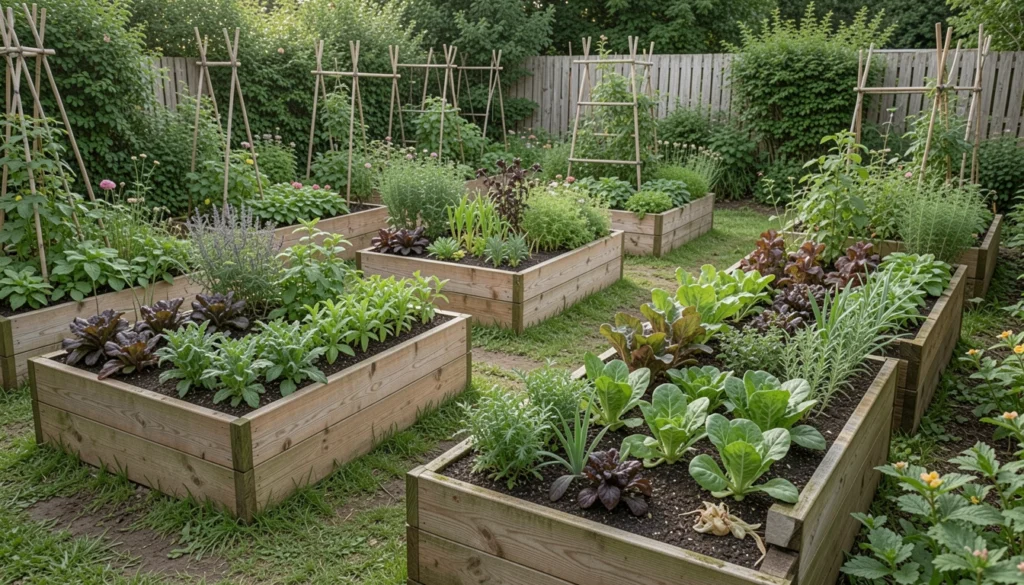
I stared at my backyard plot last spring. Three raised beds sat too close. I couldn't walk between them without brushing plants. Harvesting felt like a squeeze.
Weeds crept in from the edges. The whole space looked cramped, off-balance.
You've been there. Beds jammed together. Paths too narrow. It steals the ease from gardening.
How to Space Raised Garden Beds Properly
This is the method I use every time a garden feels unfinished. You'll end up with clear paths, room to grow, and a layout that pulls you in comfortably.
What You’ll Need
- 50-foot fiberglass measuring tape
- Landscape marking spray paint, orange
- Galvanized steel landscape stakes, 12-inch
- Heavy-duty garden twine, 500-foot spool
- 4×8-foot cedar raised garden bed kit
- Wheelbarrow with pneumatic tires
- Organic hardwood mulch, 2-cubic-foot bag
- Collapsible garden kneeler pad
Step 1: Walk Your Space Barefoot
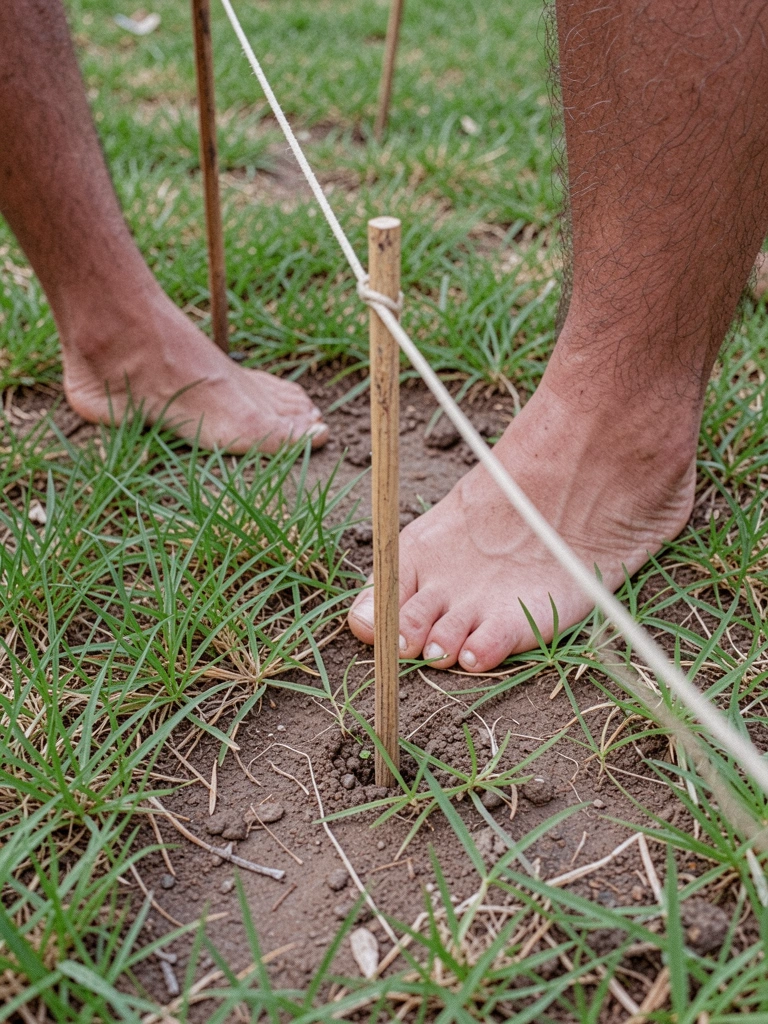
I start by walking the whole area without shoes. Feel the ground underfoot. Notice where it dips or feels tight.
This sets the paths first. Paths need to be 2 feet wide at least. That's room for my wheelbarrow and me side by side.
People miss how paths shape the beds. They think beds first. Skip this, and you'll crowd yourself out.
Don't mark yet. Just pace it out. Rushing here jams everything later.
Step 2: Stake the Path Lines
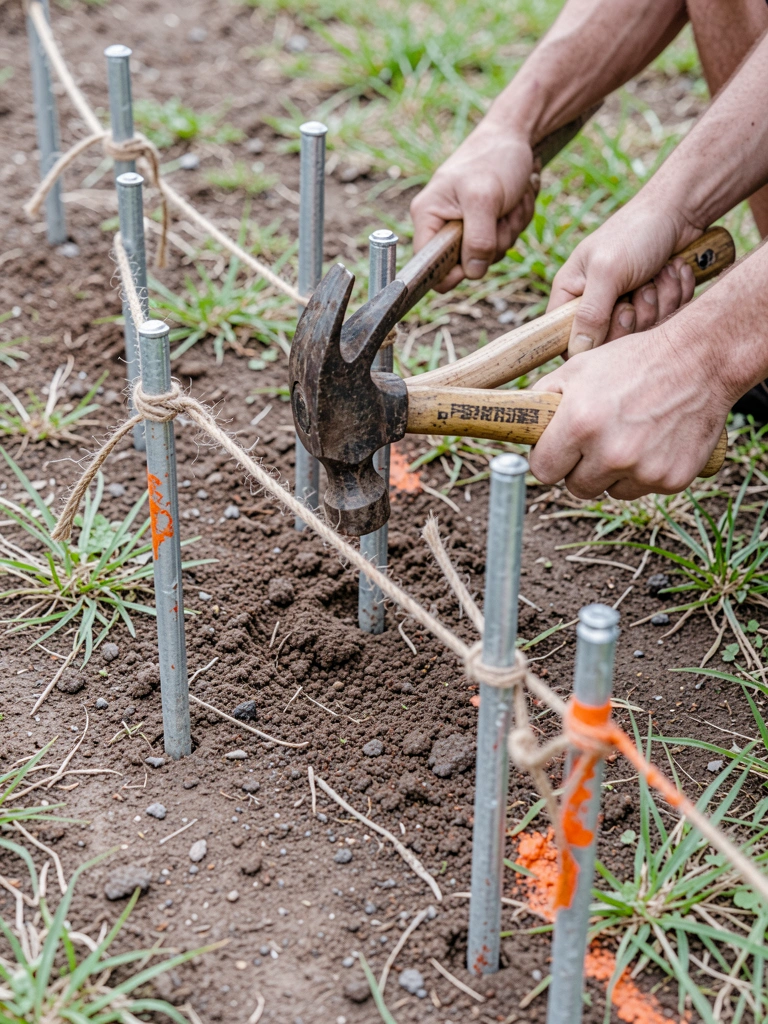
I grab stakes and twine next. Pound them in where paths feel natural. Stretch twine taut between them.
Visually, lines appear. The open space breathes. Beds shrink to fit the rest.
Insight: Paths curve slightly around trees or slopes. Straight lines fight the yard's flow.
Avoid staking too deep in soft soil. They wobble. Use my mallet lightly.
Step 3: Mark Bed Footprints
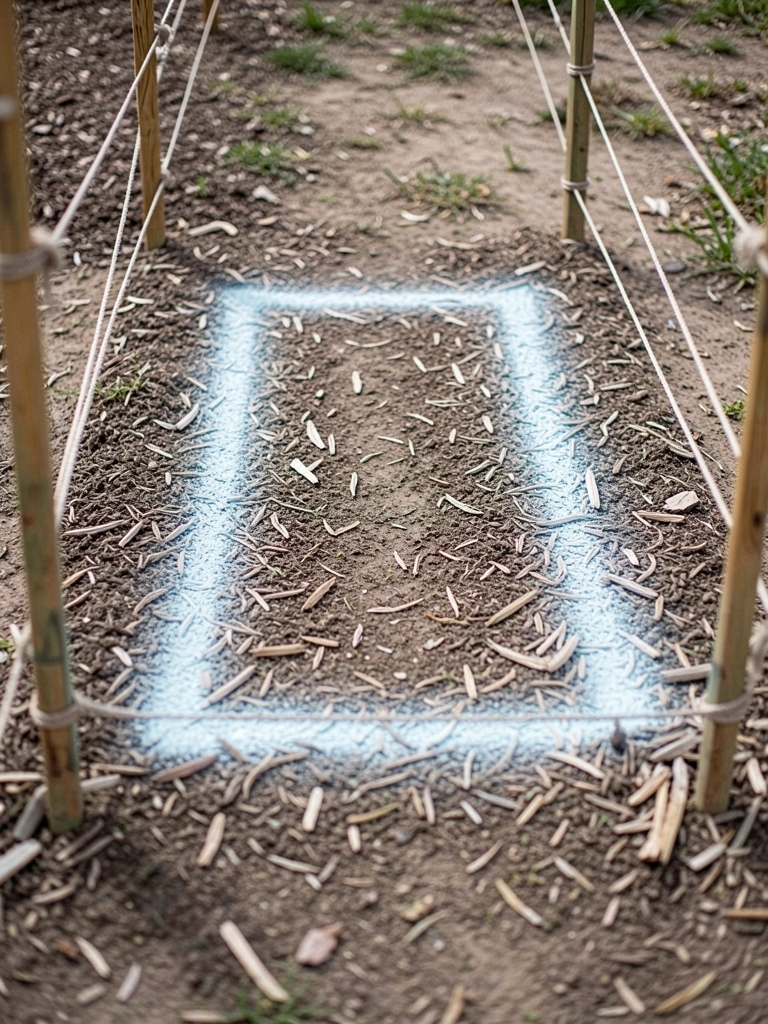
With paths set, I spray the bed outlines. Keep beds 4 feet wide max. Length matches my reach.
Now the layout settles. Beds sit balanced, not hugging paths.
Most forget sun paths. Beds need morning light on one side. Check shadows at noon.
Don't overlap marks. That steals path width. Measure twice from twine.
Step 4: Test the Reach and Air
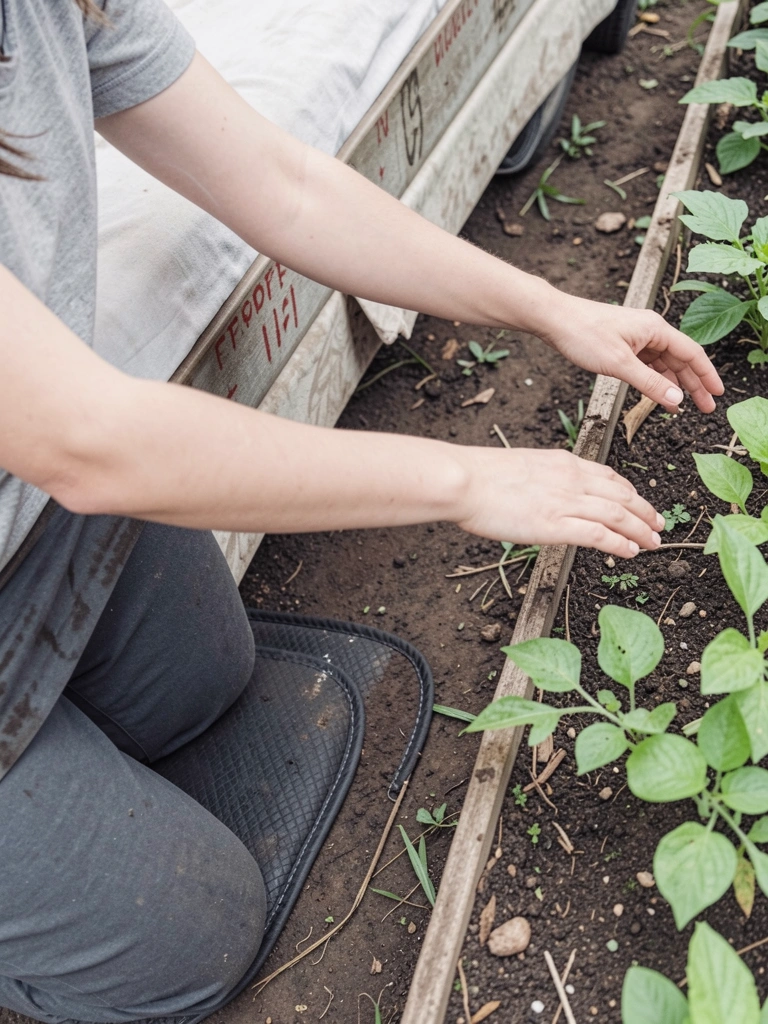
I kneel at each bed edge. Reach across without stretching. Air should flow between beds, at least 18 inches.
Visually, it opens up. Plants won't tangle. Light hits everywhere.
Missed insight: Wind needs space too. Tight spacing traps damp air, invites mold.
Avoid placing beds against fences closer than 2 feet. Bugs nest there.
Step 5: Mulch and Stand Back
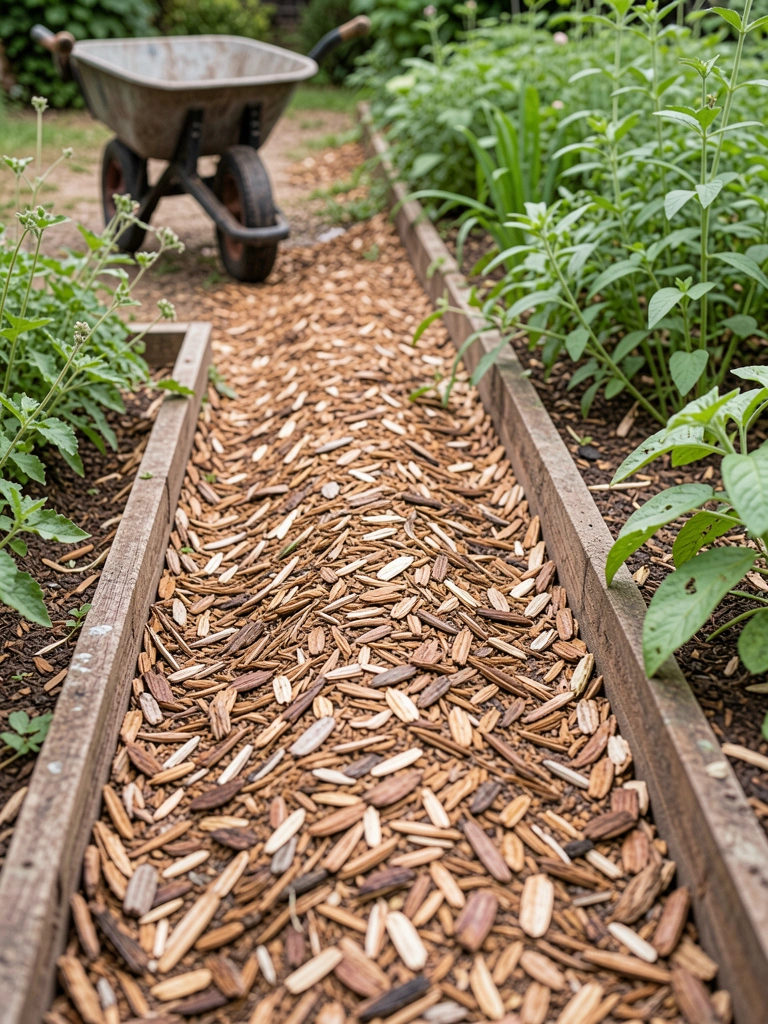
I dump mulch along paths and bed gaps. Step back 20 feet. Walk it again.
The space feels right now. Balanced, easy to tend.
People overlook the final walk. It reveals tight spots.
Don't add beds yet. Fill paths first. Solid base prevents shifts.
Choosing Bed Sizes That Fit
I stick to 4×8-foot beds mostly. They match my arm span.
Smaller yards get 3×6. Larger ones repeat the pattern.
- Measure your reach first.
- Test with cardboard mockups.
- Beds under 4 feet wide dry out less.
This keeps everything reachable. No ladder needed.
Path Materials for Lasting Comfort
Gravel paths stay firm underfoot. Mulch softens but compacts over time.
I mix them. Gravel for main walks, mulch for side gaps.
- 3-inch gravel layer drains best.
- Add stepping stones for wet spots.
- Refresh mulch yearly.
Paths hold the garden together. Choose what your feet like.
Adjusting for Sun and Growth
South-facing beds get full sun. Space them to shade paths in afternoon.
Tall plants go north end. Vines trail south.
- Track sun for a week.
- Group sun-lovers together.
- Leave 2 feet for sprawling squash.
Balance light now. Saves replanting later.
Final Thoughts
Start with two beds if space feels big. Get the spacing right there.
You'll notice the ease right away. Harvests come without strain.
Trust your walk-through. It's the real measure of a good garden.